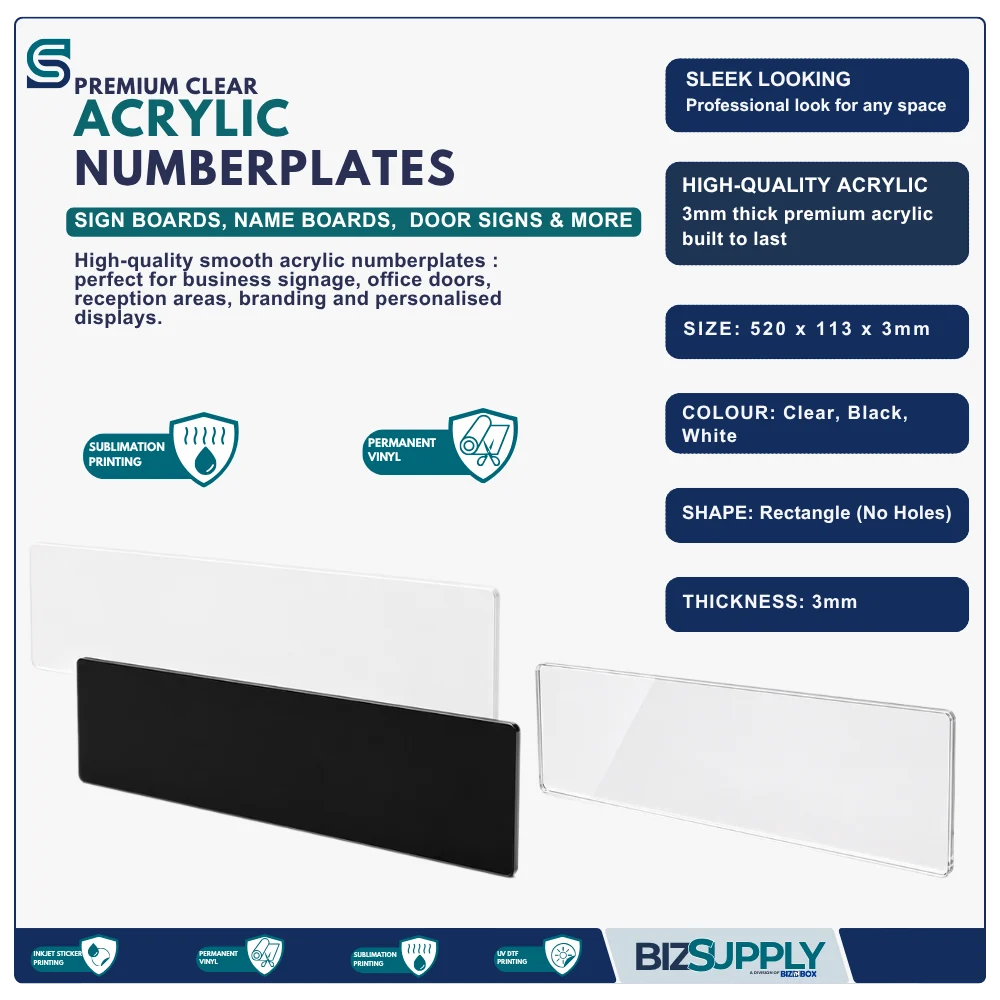
Our Acrylic Sublimation Number plate Blanks are a staple for any printing business. Whether you are creating bespoke wedding novelties, office signage, or corporate branding, these blanks provide a sleek, modern canvas that makes your designs stand out. The high-quality acrylic is shatterproof and lightweight, making it the perfect everyday accessory.
3 Professional Finishes:
-
Transparent (Clear): Achieve a beautiful “floating” design effect by printing on the reverse. The polished edges give a high-end, crystal-clear look.
-
Solid White: Provides a high-contrast background that ensures your colors are vibrant, accurate, and bold.
- Solid Black: Provides a high-contrast background that ensures your sticker vinyl will look sleek and professional .
Key Features:
-
Sublimation Ready: Specially coated for smooth heat transfers and long-lasting, scratch-resistant results.
-
Protective Film: Shipped with a protective layer on both sides to ensure your blanks arrive in flawless, scratch-free condition.
-
Durable & Lightweight: High-grade acrylic that won’t weigh down keys but is tough enough for daily use.
Ready to expand your product range? Add these acrylic blanks to your shop today!
Number Plate – Acrylic – 520 x 113 x 3mm
Create high-end, personalized signage with our Premium Acrylic Blanks. These durable, high-gloss blanks are available in Transparent (Clear) or Solid White and sleek blackfinishes. Perfect for custom gifting, corporate branding, and name plates, they offer a professional, glass-like look that is built to last.
Price range: R80,00 through R85,00
 Delivery
Choose to Door , to Locker or In-Store collection
Delivery
Choose to Door , to Locker or In-Store collection
 Reliable Products
All our products are tested.
Reliable Products
All our products are tested.
 Local Support
Our support team are on WhatsApp
Local Support
Our support team are on WhatsApp
 Secure Payment
Payment with secure gateways
Secure Payment
Payment with secure gateways
Frequently bought together
Total for selected items R80,00
1. Specifications Acrylic
Acrylic Specifications
- Product Type: Sublimation Acrylic Substrate / Clear Signage Blank
- Material Thickness: 3mm (Rigid cast layout)
- Base Color: 100% Optically Clear / Transparent or Solid Opaque White
- Surface Finish: High-Gloss Smooth Polymer Layer
Frequently asked questions – Sublimation Printing on Acrylic
Must I remove the protective plastic?
Yes. Remove the protective plastic from both sides before pressing. Pressing with the plastic attached can damage the item and spoil the image.
Must I mirror my design?
For white acrylic, mirror the design before printing. For clear acrylic printed from the back and viewed through the front, do not mirror it. Always test text or a directional image before producing multiple items.
Why print on the back of clear acrylic?
The design is protected behind the acrylic and has an attractive glossy appearance when viewed through the front.
Can I press both sides?
Yes, but complete and cool one side fully before preparing the second side. Test first to confirm that reheating does not affect the first image.
2. Printing Instructions – Acrylics
Sublimation Printing
Settings:
Temperature: 170 °C
Time: 160 seconds
Pressure: Light
Both sides can be sublimated.
Important: Remove the protective plastic from both sides before pressing.
- Remove all protective plastic from both sides of the acrylic.
- Make sure the acrylic is clean, dry and free from dust.
- Mirror the design before printing, especially words, numbers and directional images.
- Print the mirrored design onto sublimation paper.
- Place the printed side of the paper against the side of the acrylic you want to decorate.
- Secure the paper with heat-resistant tape so it cannot move.
- Place clean protective paper above and below the acrylic.
- Press at 170 °C for 160 seconds using light pressure.
- Open the press carefully and remove the transfer paper without sliding it.
- Immediately place the acrylic on a clean, flat surface.
- Keep it flat under light, even pressure until completely cool. This helps prevent warping.
CAUTION
The acrylic will be hot and may be slightly flexible when it leaves the press. Handle it carefully and do not bend it.
CLEAR ACRYLIC
TIP FOR BRIGHTER COLOURS
Printing on the back will give the image dept. Remember not to mirror the image when printing.
After the acrylic has cooled completely, apply white sticker vinyl to the back, behind the sublimated image. The white backing makes the colours appear brighter and clearer when viewed through the front.
SUCCESS CHECK
The image reads correctly from the front, the colours are clear, and the acrylic remains flat.
Vinyl Application on Acrylics
- Remove the protective film from both sides of the acrylic.
- Clean the surface with a soft, lint-free cloth and make sure it is completely dry.
- Place transfer tape over the vinyl design and rub firmly across the entire design.
- Turn the design over and slowly remove the paper backing. The vinyl should remain attached to the transfer tape.
- Position the design carefully without touching the exposed adhesive.
- Lower it onto the acrylic from one side to the other, smoothing as you go.
- Rub firmly over the complete design.
- Slowly remove the transfer tape at a low angle.
- Press down any lifted edges and allow the vinyl adhesive to settle.
APPLYING TO THE BACK OF CLEAR ACRYLIC
Applying vinyl to the back helps protect the design while allowing it to show through the clear acrylic.
Important: The design must have been mirrored before cutting—especially words, numbers and directional images.
Apply the vinyl to the back surface using the same steps above. Turn the acrylic over and check that the design reads correctly from the front.
Important: Apply the design to the front of white acrylic. Do not mirror the design.
SUCCESS CHECK
The design is straight, smooth and firmly attached, with no lifted edges or trapped dust.
You may also like
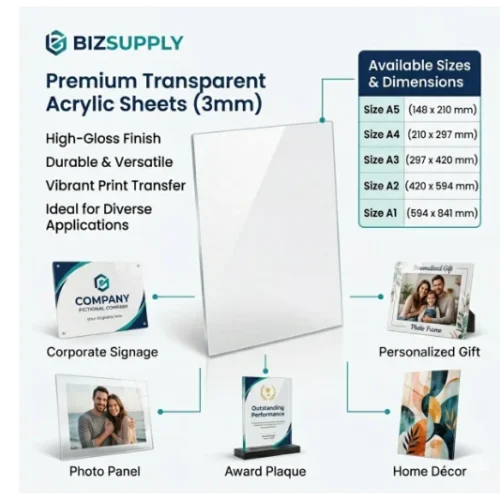 Clear 3mm Acrylic Sheets - Glass-Look (A5 to A1 Sizes) (for Sublimation and Sticker vinyl)
Price range: R43,00 through R589,00
Clear 3mm Acrylic Sheets - Glass-Look (A5 to A1 Sizes) (for Sublimation and Sticker vinyl)
Price range: R43,00 through R589,00
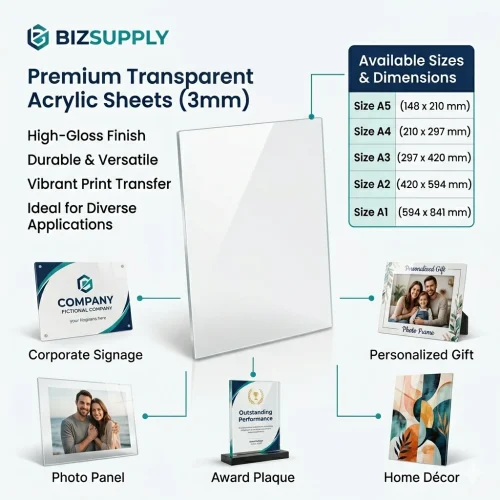 White 3mm Acrylic Sheets - Gloss Finish (A5 to A1 Sizes) (for Sublimation and Sticker vinyl)
Price range: R57,00 through R786,00
White 3mm Acrylic Sheets - Gloss Finish (A5 to A1 Sizes) (for Sublimation and Sticker vinyl)
Price range: R57,00 through R786,00
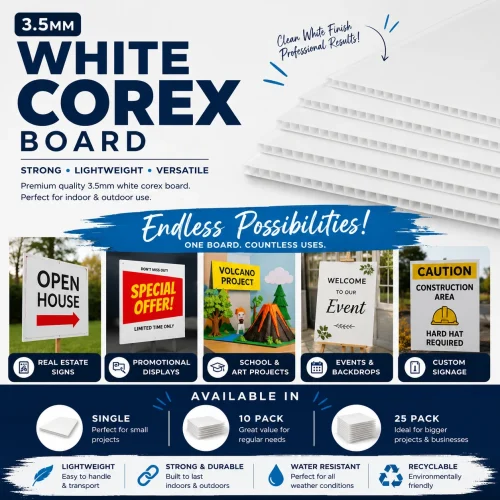 3.5mm White Correx Board | Lightweight Signage & Display Board
Price range: R5,00 through R1399,95
3.5mm White Correx Board | Lightweight Signage & Display Board
Price range: R5,00 through R1399,95
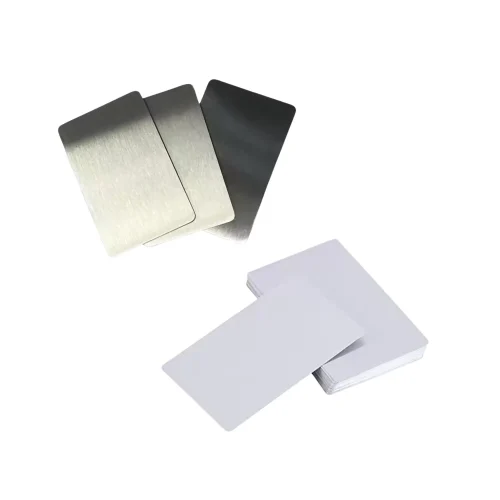 Business Cards - Coated Aluminium - Sublimation
Price range: R4,50 through R314,00
Business Cards - Coated Aluminium - Sublimation
Price range: R4,50 through R314,00
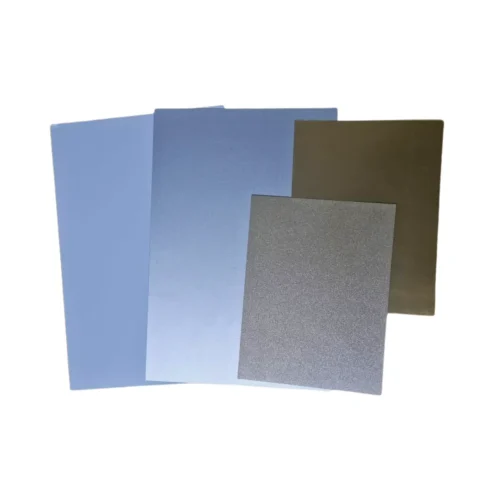 Aluminium Sheet - Coated Aluminium - Sublimation
Price range: R12,00 through R73,00
Aluminium Sheet - Coated Aluminium - Sublimation
Price range: R12,00 through R73,00
Recently Viewed